One of the first rooms you see when you enter our house is the office. It is a really cute space and has loads of potential.
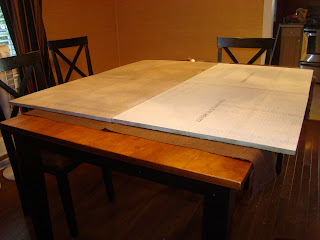
I am super anxious to get it finished. First up on my list of to do's - a giant bulletin board! Some place to stick 'stuff'! I started out with 4 - 2'x2' ceiling tiles
I sprayed them with a color left over from a previous project so the white wouldn't shine through! I decided to cover them in a brown burlap fabric. I simply stapled it around the edges.
Next up I started with the ribbon! Ribbon, Ribbon, lots of RIBBON!
[side note - I went with the ribbon approach instead of using push pins due to the fact that I know I would NEVER be able to find a push pin]
I measured 6" on each side and connected the dots! I used hot glue for all the ribbon.
Once I got one direction entirely done, it basically created the dots for the 'other' direction.
[I only glued the ribbon at the edges]
Once all the ribbon was on, I used a wider ribbon around the edges to cover all the uglies.
I decided on these super cute metal letter brads to create the separation at each ribbon intersection. This is what will keep my junk in it's place.
My nifty box cutter came in handy to create tiny holes in the ribbon to allow the brads to go through to the ceiling tiles. [If any of the brads felt loose, I reinforced it with hot glue]
I really love these little letters. I even hid each of our names in there for Phoebe to find later!
I LOVE the way it turned out! Look for the finished product on the wall in my big office reveal!!
-fd
Supply List:
- 4 rolls 5/8"x18' oatmeal ribbon
- 1 and a little of a second roll of 1.5"x4yds polka dot ribbon
- 100-125 small letter brads
- 1-1/2 yards brown burlap
- 4 ceiling tiles


No comments:
Post a Comment